Community terms acceptance lets you require participants to accept documents specific to a community before entering it, such as community guidelines or a study participation agreement.
Administrators write and edit these texts, so each community can have its own rules and commitments, in addition to the general platform terms.
INDEX
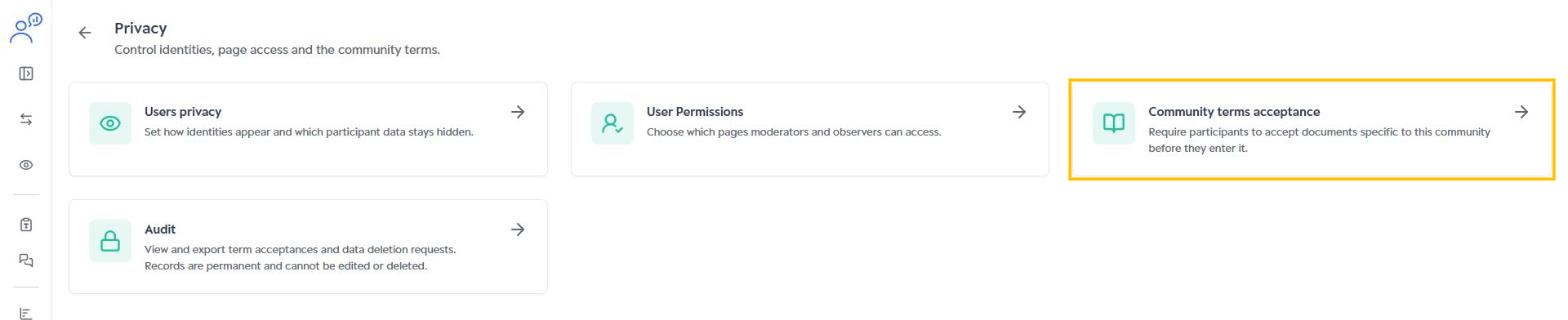
Where to find it
In the side menu, click Settings > Privacy > Community terms acceptance.
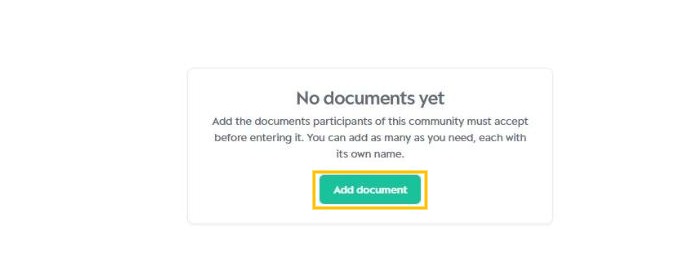
If the community has no documents yet, the page shows the message No documents yet.
Adding a document
1. Click Add document.
2. If you want, start from a template: Community Guidelines or Study Participation Agreement. The template fills in the document name and content.
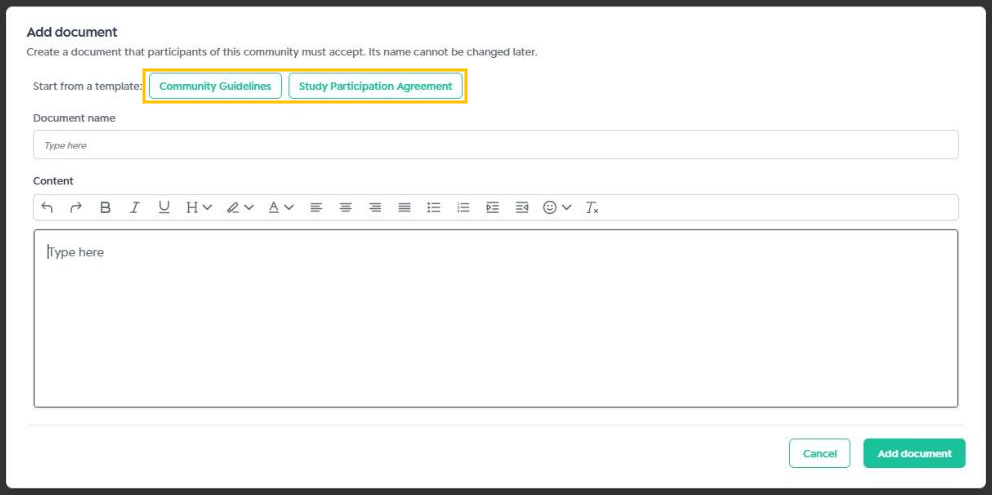
3. Fill in or adjust the Document name.
4. Write or review the text in the Content field. The editor supports bold, italics, underline, headings, highlight, colors, alignment, lists and emojis.
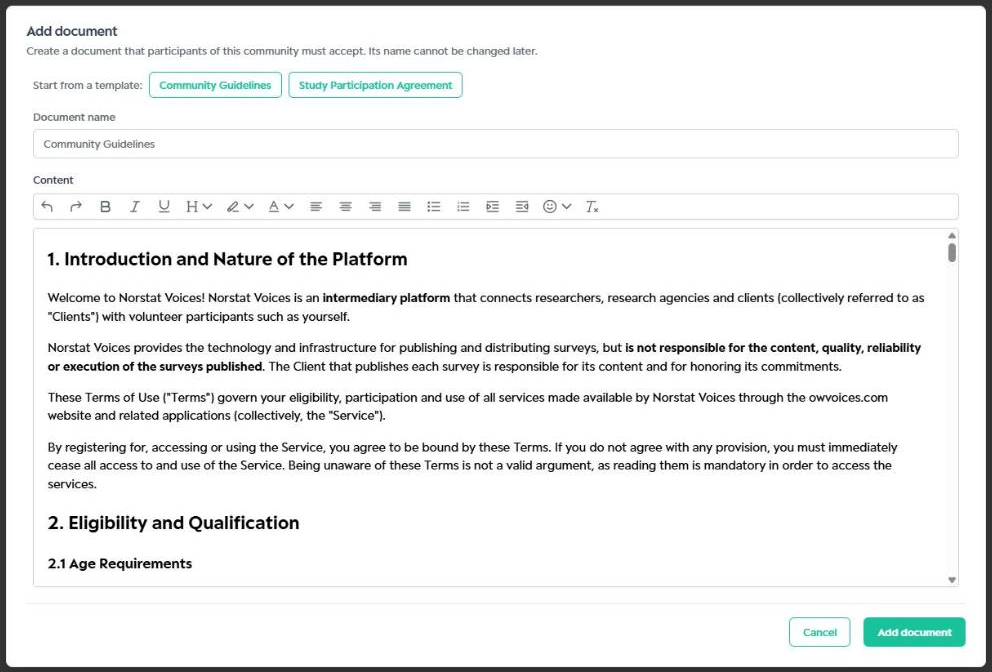
5. Click Add document to finish.
The document name cannot be changed later. If you need a different name, create a new document and delete the old one.
Enabling terms acceptance
Once the documents are added, turn on Enable community-specific terms acceptance in the top right corner of the page. From then on, participants must accept the documents before entering the community.
Each document appears as a tab above the editor. When you select a tab, the document content appears in the Content field.
Editing or deleting a document
- Edit: select the document tab, change the text in the Content field and click Save.
- Delete: select the document tab and click Delete document.
Use the templates as a starting point and review the text so it reflects your community rules and context before enabling acceptance.
Acceptances are recorded in the Audit card on the Privacy page, where you can view and export them.
Was this article helpful?
That’s Great!
Thank you for your feedback
Sorry! We couldn't be helpful
Thank you for your feedback
Feedback sent
We appreciate your effort and will try to fix the article